


Step-by-Step Linux Installation on a Windows PC
Placing Linux on your Windows computer is not difficult, it is simple and free. Linux can breathe life back into a slow computer and give you more control over how your system looks and works.
It is like adding a new room to your home, you can experiment and play around, but lock up your Windows room and keep it simple.
Why Go for Linux?
Linux is free, safe, and fast Windows alternative. It looks beautiful even on old computers and allows you to customize nearly everything, from the way it appears to the way it functions.
Ready to take a test drive? Let's begin.
Step 1: Deciding on Your Linux(Distro)
The first step is choosing a Linux “distro” which is just a version of Linux with its own look and tools. There are many options, but beginners coming from Windows will find some distros much easier to use.
Top Recommendations for Beginners:
For beginners, three of the best Linux options are Linux Mint, Ubuntu, and Zorin OS.
- Mint is simple and familiar for Windows users,
- Ubuntu is popular with great support
- Zorin is designed to look like Windows.
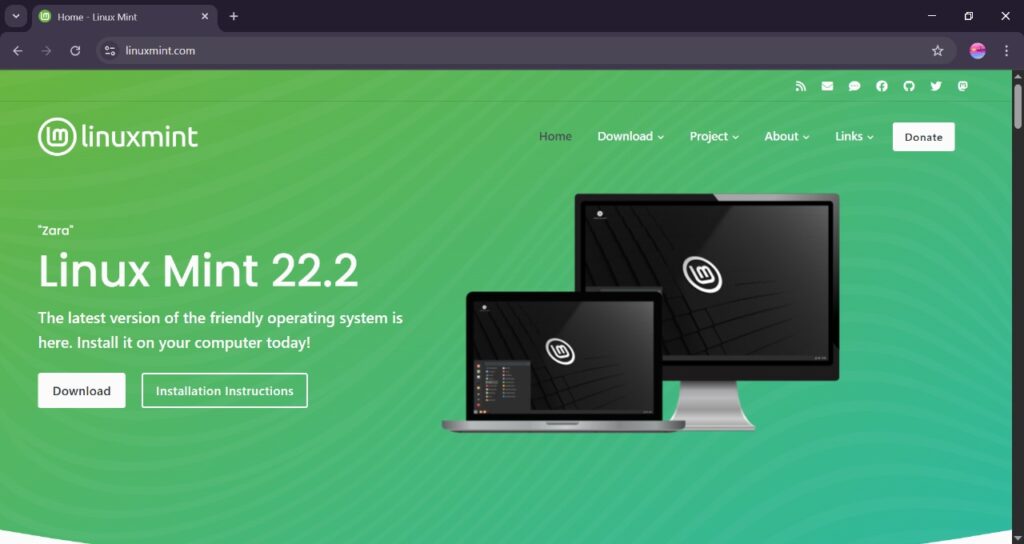
In this guide, we will use Linux Mint as the example. Just go to the official website, download the latest version, and pick the Cinnamon edition, which is the most popular and user-friendly.
Step 2: Preparing Your Installation Drive
You cannot just install Linux as a normal program. You must first create a bootable USB drive, which is employed as an installation disc and instructs your machine to boot from the Linux installation rather than Windows.
What You will Need:
- USB flash drive (at least 8 GB is a good minimum).
- The Linux Mint ISO file which you have downloaded.
- Free software to make the bootable drive. We are using Rufus.
Creating the Bootable USB:
Get Rufus:
Visit the official Rufus website and download the program. It is extremely small, portable software, so you do not need to install it.
Insert your USB drive:
Note: This will delete all that is currently on the USB drive, so ensure you have backed up any essential files from it beforehand.
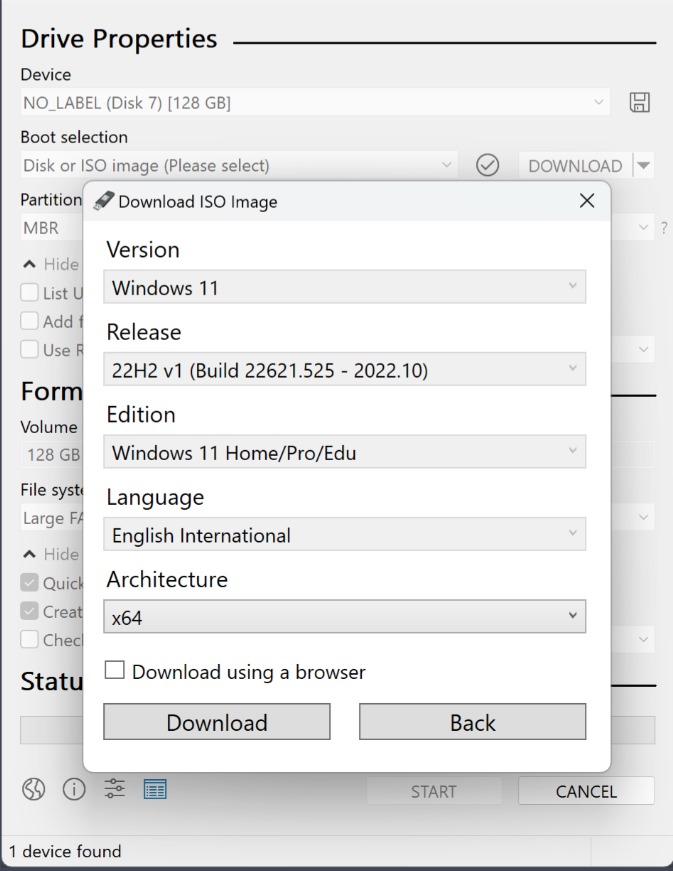
Open Rufus:
Open the Rufus program.
Set the settings:
- Under Device, select your USB drive from the dropdown menu.
- Under Boot selection, click the SELECT button and find the Linux Mint ISO file you downloaded earlier.
- Leave the rest of the settings as their defaults. Rufus is smart and will usually pick the best options for you.
Start the process:
Click the START button. It will likely give you a warning that all data on the USB drive will be destroyed. Click OK to continue.
Rufus will now take a few minutes to write the Linux Mint ISO to your USB drive. Once it is finished, the status bar will say "READY." You now have a bootable Linux Mint installation drive!
Step 3: Backing Up Your Data and Preparing Your PC
This is a crucial step, since we are going to replace your computer's hard drive, you should first backup your valuable files. The process is typically safe, but it is better to be careful.
Backup Your Important Files
Do not lose the backups! Store your documents, photos, videos, and other files on an external hard drive, USB flash drive, or cloud storage such as Google Drive or OneDrive.
Make Free Space for Linux
Second, you need to create free space on your hard drive for Linux. We are going to do that by resizing your main Windows partition.
- Right-click the Start Menu and choose Disk Management.
- You will have a graphical view of your hard drive. Your main partition must to be the biggest one, which is (C:).
- Right-click your C: drive and choose Shrink Volume.
- Windows will determine how much it is able to shrink. In the box that has "Enter the amount of space to shrink in MB," you will type in how much space you are willing to sacrifice to Linux.
- How big a space? It is always wise to have at least 50,000 MB (that is 50 GB). You will have lots of space for the operating system and a couple of programs. If you are going to use it frequently, 100,000 MB (100 GB) is preferable.
- Click Shrink. You now have a fresh block of "Unallocated" space. This is where we will install Linux.
Step 4: Booting from the USB Drive
Now it is time to restart your computer and tell it to boot from your new Linux Mint USB drive instead of Windows.
- Do not remove the USB drive.
- Restart your computer.
- As soon as it begins booting, you will need to press a certain key in order to access the Boot Menu. The key depends on the maker but is typically F12, F10, F2, or Esc. You might notice that there is a message on the screen such as "Press F12 to Select Boot Device."
- You should now be in the Boot Menu; select your USB drive using your arrow keys. It may be labeled by brand name (e.g., "SanDisk Cruzer") or by "USB Device."
- Hit Enter.If it does work, you will be looking at the Linux Mint menu. Hit Enter on "Start Linux Mint," and your computer will boot up a temporary one from the USB. You can try it out, browse the web, get Wi-Fi, and take a look around, without altering anything at all permanently.
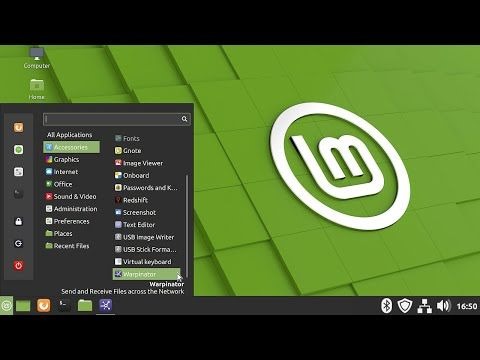
Step 5: Installing Linux Mint
After you are installed on the Linux Mint desktop, you will find an icon that says "Install Linux Mint." Double-click on this icon to start the installation.
The installer will walk you through a series of easy steps:
Language and Keyboard Layout:
Select your language and keyboard layout.
Multimedia Codecs:
You will be prompted whether you wish to install third-party graphics, Wi-Fi, and media formats software or not. Mark this box. It will make a big difference in your life and make things like playing video work properly.
Install Type:
There you do the most critical portion of the installation. You are going to have several options. You want to select the one that reads "Install Linux Mint alongside Windows Boot Manager."
- This choice will automatically pick up on the "Unallocated" space that you reserved earlier and incorporate a "dual-boot" configuration. This will result in your being presented with a menu each time you turn on your computer, with the option of booting into Linux or Windows.
- Your installer will introduce you to a slider that allows you to choose the amount of space to allocate to Windows and Linux. Since we have already formed the space, it should already be placed correctly. Just accept and click "Install Now."
Confirm Changes:
It will introduce you to a final preview of the changes it is about to make to your disk partitions. Check it out and click Continue.
Location and User Account:
Select your time zone from the map. Next, set up your user account. Select a username and password. You may have it log in automatically or prompt for a password on start-up.
The installer is now copying files and installing the system. This may take 10 to 30 minutes, so have a coffee break. When it is finished, you will be presented with a message informing you the installation is complete. Click "Restart Now."
When asked, remove the USB drive and press Enter.
Welcome to Your New Dual-Boot System!
Your machine will reboot, and you will notice a new menu (named GRUB) in front of Windows that you can boot into. It will allow you to boot into Linux Mint or Windows. Use your arrow keys to highlight Linux Mint and hit Enter.
You have got Linux on your Windows machine! You can now explore, download programs from the Software Manager, and adjust anything the way you like.
FAQs
No, they run separately, Linux just uses some hard drive space.
Yes, most Linux versions let you access your Windows drive and files easily.
Yes, you can delete the Linux partitions in Windows and reclaim the space.
Not at all, modern distros like Mint or Ubuntu work just like Windows.
Final Thoughts
Bouncing to Linux may seem like a giant step, but it is worth it, you have got more freedom, security, and control over your computer now. You are getting the best of both with both Linux and Windows.
Do not be afraid to experiment and try things out, the Linux community will still be here if you get stuck.
If you found this tutorial helpful, post a backlink to your friend who is interested in Linux and leave a comment so that we know what distro you settled on. Enjoy your new system now!
You will also like:
Disclaimer!
This article is for informational and educational purposes only.
We do not provide financial, medical, or legal advice.
Always verify important details from official sources before making any decisions.
Every effort is made to keep the content accurate and helpful, but we advise readers to rely on their own judgement and official references.
If you find any mistakes or issues, please contact us to correct them.


Responses (0 )